Creamy White Bean Pasta with Mushrooms & Sage

Creamy White Bean Pasta with Mushrooms & Sage

It’s Bonfire night! Since the 5th is a weekday this year, most of the fireworks displays took place over the weekend when it was, predictably, raining.

Bonfire night always seems to signal the real start of Autumn weather and indeed the temperature has certainly dropped these last couple of days. I’m back on porridge for breakfast and looking for warming meals to fill my tummy after coming in from the cold.

Creamy White Bean Pasta with Mushrooms & Sage

I don’t eat pasta all that often these days. I think maybe I had my fill of it when I was younger when plain pasta was one of the few meals fussy little me liked. I tend to think of it as boring and not particularly nutritious, but I’m realizing that it doesn’t have to be so. Add some beans, greens and wintry herbs and you’ve got a tasty, healthy, and satisfying meal.

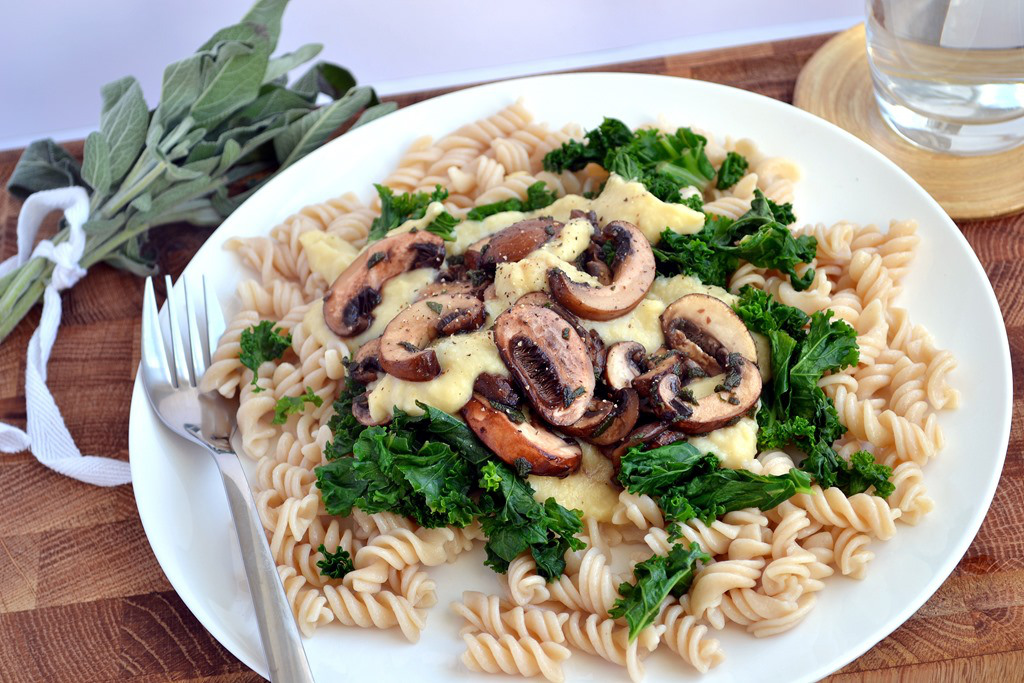
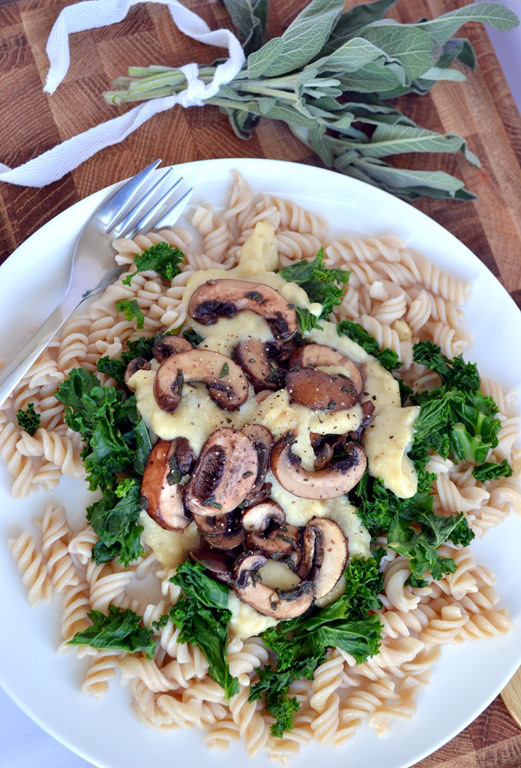
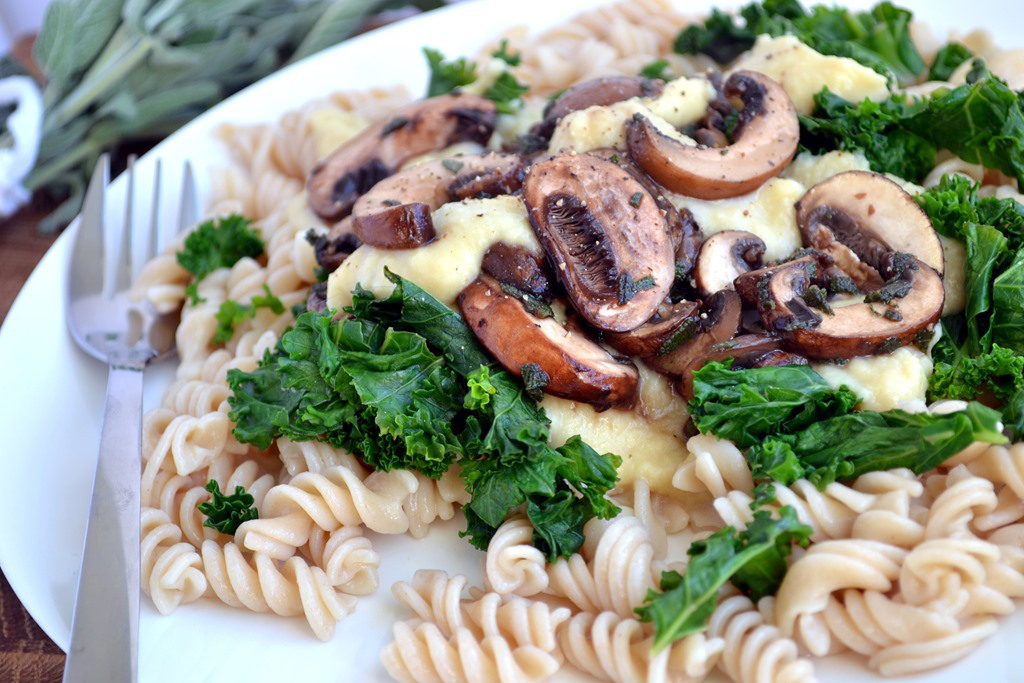
I know this dish doesn’t look terribly inspiring but I promise it tastes a lot better than it looks. The creamy sauce is made from white beans and packs a punch of protein as well as bringing the herby mushrooms, pasta and kale together nicely.

Creamy White Bean Pasta with Mushrooms & Sage

Creamy White Bean Pasta with Mushrooms & Sage:

Pasta for 4 people (I like Dove’s Farm Brown Rice Pasta)

1/2T Olive Oil
1 Small Onion
2 Cloves of Garlic
1C White Beans
1T White Miso
1T Lemon Juice
1 1/2C Vegetable Broth
1/2T Olive Oil
250g/8oz Mushrooms, wiped clean and sliced thickly
2T Minced Fresh Sage
Salt & Pepper
A few large handfuls of kale or other greens, chopped

Make the white bean sauce first. Sauté onion over medium heat for 5 minutes in the olive oil, add the garlic and continue to cook for a further couple of minutes.

If you have an immersion blender add the beans, broth, miso and lemon juice to the pot and blend until smooth. Alternatively, transfer onion mixture to a blender, add the other ingredients and blend until smooth. Return to pot and heat gently until warmed through. Add more broth if you prefer a thinner sauce.

Cook pasta according to packet directions.

While the pasta is cooking, heat the remaining olive oil in a pan and sauté mushrooms along with the sage for approx 5 minutes, or until they’ve released their juices. Season with salt and pepper.

Steam greens.

Either add everything to the pasta and mix well to coat with the sauce or layer the separate components on individual plates.

Serves 4

Creamy White Bean Pasta with Mushrooms & Sage

I’ve got so much I want to share with you but am lacking the time to post it at the moment. I hope you’ll all bear with me!

What are your favourite pasta-dishes?

Sign up for email updates and join me elsewhere: I’m on Facebook, Pinterest, Instagram (@coconutandberries), Google + and Twitter!

Thai Tempeh & Vegetable Red Curry

After 4 years of university when (fairly infrequent) classes and lectures were no more than 5 minutes away by bike, followed by a long summer break free of any commitments, you could say I’m used to having plenty of time for cooking and being able to do so when I want.

Thai Tempeh & Vegetable Red Curry

Now, however, things are a little different. I still do work a lot from home, but I have to travel to get to my classes and sometimes spend all day on campus and then have to face bus queues and the ride home. I certainly have a new found appreciation of what the real world is like! After a long day of work and arriving home hungry, the last thing I want to do is think about putting together an elaborate meal.

If, even I, the self-proclaimed cooking lover, feels like this, then what must the majority of the world’s population working 9-5 jobs feel like?!

Thai Tempeh & Vegetable Red Curry

Ruling out the easy option of packaged ready meals from the outset, which are typically unhealthy, expensive and, most importantly to me, just don’t taste good (!), I’ve been trying to come up with some quick meals which don’t require much effort, ideal for the aforementioned evenings.

This Thai Tempeh & Vegetable Red Curry ticked all the boxes- easy, speedy and nourishing! In fact, if it weren’t for the rice I served with it, this could be on the table in 15 minutes.

I even made sure there was minimal chopping involved!

Thai Tempeh & Vegetable Red Curry

Feel free to use whatever vegetables on hand- bell peppers, courgettes and aubergine would also be nice. Of course you’ve got more chopping involved with those choices though…

Thai Tempeh & Vegetable Red Curry:

1T Coconut oil (divided)
1/2 8oz Pkg tempeh, cut into triangles or cubes (I used a variety with sea vegetables, hence the black bits…)
1 1/2-2T Red curry paste (check the label for shellfish!)
3/4C/1/2 Can Coconut milk
1/2T Tamari
1/2T Coconut sugar
1T Lime juice
100g/3.5oz/1 1/2C Halved mushrooms
100g/3.5oz Sugar snap peas
100g/3.5oz Baby corn, halved lengthwise
Handful of Thai basil (you could also use fresh coriander but Thai basil is really really good!)

If you’re cooking rice, make sure to get that going before you do anything else.

Sauté the tempeh in 1/2T Coconut oil over medium-high heat, flipping to get it brown on all sides.

Heat the remaining 1/2T coconut oil in a pot over medium heat and add the red curry paste. Stir for a minute just to toast the spices and bring the flavours out.

Stir through the coconut milk, tamari, coconut sugar and lime.
Add vegetables, cover, and simmer for about 5 minutes, just until vegetables are tender. Stir through the Thai basil leaves and the tempeh and simmer for another minute just to warm through the tempeh.

Serve with brown rice, rice noodles or another grain.

Serves 2 

PRINT RECIPE HERE
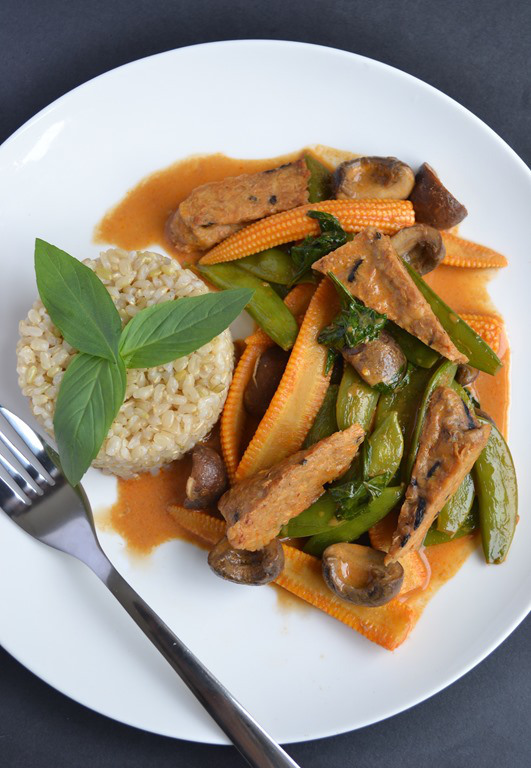
Thai Tempeh & Vegetable Red Curry

Preparation tends to be a big help in getting meals on the table speedily. Here are a few of my top tips:

-Cook a big batch of grains and beans at the weekend to use throughout the week.

-Make a dressing, and/or sauce, and a dip. Again, these will last you all week and mean you can jazz up a side salad to go with your meal or a simple bowl of grains, veggies and beans. If I’m starving when I get in I also like to munch on some carrot sticks and hummus (or other homemade dip) while I prep dinner.

-Have a well-stocked pantry. Although my preference is for cooking beans from scratch, sometimes I forget to soak them and it’s useful to have a few cans on hand. Along with dried beans, lentils, grains, pasta and noodles, dried fruit and nuts, other ingredients I stock are canned tomatoes, coconut milk and silken tofu (for noodle soups, sauces and desserts).

-Don’t forget the spices. Having a wide range of spices might seem unnecessary but it’s the way to go to add a lot of flavour to your dishes, without long simmering or roasting.

-Wash and chop your vegetables in advance. Supermarkets these days are doing a roaring trade in prepared vegetables, unsurprisingly as this is another time-zapper. These are always more expensive than the whole vegetables though and if you dedicate half an hour of time to chopping up vegetables in advance you’ll be amazed at how much quicker your meals come together. Most vegetables can be chopped in advance and stored in a covered container in the fridge. For vegetables I won’t be cooking and which I want to stay crunchy, I cover them in cold water and store them like that.

-Use your freezer. For when I really don’t want to cook I make use of my own freezer meals! Sometimes I cook enough for a few meals, and even if I don’t want to eat the same thing 3 days in a row, I store the leftovers in the freezer. Just get out whatever it is in the morning and let it defrost ready for you to simply re-heat and eat in the evening.

And of course….

-Meal-Plan. This makes life SO much easier. Knowing what you want to eat the week ahead means you’ll have all the ingredients you need on hand and not be left with a growling tummy staring blankly into an empty fridge come dinner time! Set aside an hour a week to go through those recipes you’ve saved online and/or your cookbooks, and pick a few you want to try that week. Write them down along with a list of anything you need to buy.

DSC_0017

That’s all I can think of right now but please do share your own tips in the comments.

Do you have any super speedy, healthy meals to share?

Sign up for email updates and join me elsewhere: I’m on Facebook, Pinterest, Instagram (@coconutandberries), Google + and Twitter!
“Cheesy” Meals

If you caught my Lentil and Sausage Stew recipe post last week you’ll know that during Vegan MoFo I won a bunch of Vegusto meat and cheese “alternatives”. Until recently they haven’t been too widely available in shops, and this, along with actually never being a cheese fan pre-vegan, meant that I hadn’t bothered to seek them out. I’ve kept hearing more and more about them though and they seem to be taking the European vegan market by storm, so winning the giveaway I was actually pretty excited to try their stuff out for myself.

I thought I’d share my thoughts on the products and what I made with them today.

Vegusto Meat & Cheese Alternatives

Pictured above is the selection of products I won. They’re not too attractive in their packaging, but is uncooked meat and packaged cheese really particularly nice to look at?

-Farmhouse Sausage
-Mushroom & No-Moo Burgers
-No-Moo Melty
-No-Moo, Mild-Aromatic
-No-Moo, Piquant

Vegusto Mushroom & No-Moo Burger

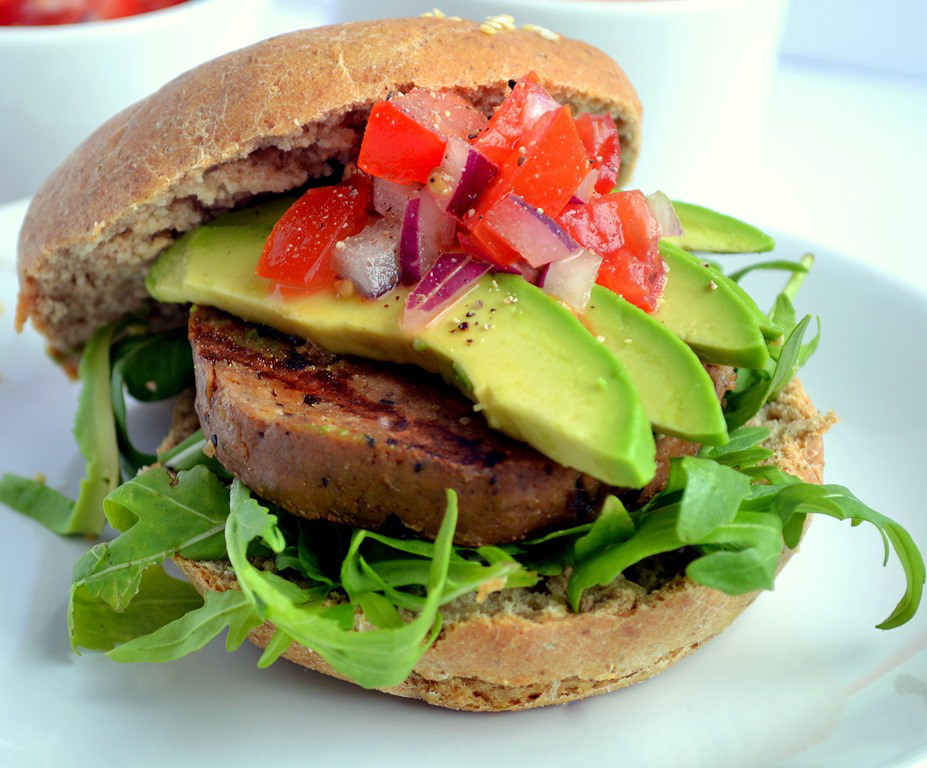
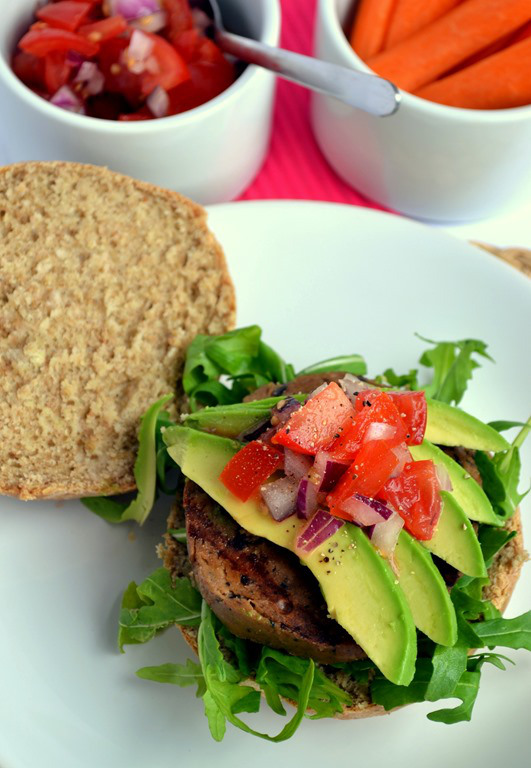
I was really impressed with these burgers. I haven’t had many meat alternatives before so don’t have a lot to compare them with in that regard, but they certainly have a very meaty texture and flavour, as the sausage did. There are little flecks of cheese in the patty itself which makes them extra juicy. I ate them on homemade spelt/rye buns with rocket, avocado and salsa, and a side of carrot sticks Smile

Vegusto Mushroom & No-Moo Burger

Next up was the No-Moo Melty. This is the Vegusto product I’d heard most about so had high hopes. I certainly wasn’t disappointed and it melted like a dream. Tomato soup and cheese on toast are classic comfort foods so on a dreary day here I thought I’d have them together! I whipped up a quick tomato soup, grilled some nice seedy bread in the oven, then popped it back in with the cheese on top to melt.

Tomato Soup,Vegusto No Moo Melty Cheese on Toast

After my first melting success I had to make a cheesy pizza. I haven’t had a cheese pizza in a very long time. I do occasionally add cashew cheese or tofu ricotta to my pizzas but usually go completely cheese-less and just let the vegetables shine or sometimes add a different sauce like the pesto and romesco pizzas I made this summer.

Southwestern-style BBQ Pizza (with Vegusto No-Moo Melty)

I didn’t stick to classic cheese and tomato with this one either (you’ve probably realized by now that I can’t resist trying new things!). I opted instead for a “Southwestern” style pizza with a homemade wholewheat crust, BBQ sauce (I use Isa’s recipe which isn’t too cloyingly sweet like the commercial ones typically are), No-Moo Melty, peppers, red onion and creamy avocado. I really loved this and am not sure I will be able to stop myself adding avocado to all my pizzas in the future!

I didn’t go overboard on the cheese, and honestly don’t think I would have missed it here, but maybe should have given it a whirl on a more simple pizza.

Southwestern-style BBQ Pizza (with Vegusto No-Moo Melty)

The Vegusto website described the No-Moo Mild-Aromatic as a “Cheddar alternative” so I had a think about how I remembered cheddar being used in the past. It’s a very English cheese so I decided it had to be a very English recipe! Afternoon tea is perhaps what England is know best for in food terms, so with this in mind I came up with cheesy scones, more than fit for a fancy afternoon spread!

Vegan Cheese Scones (with Vegusto No-Moo Mild-Aromatic)

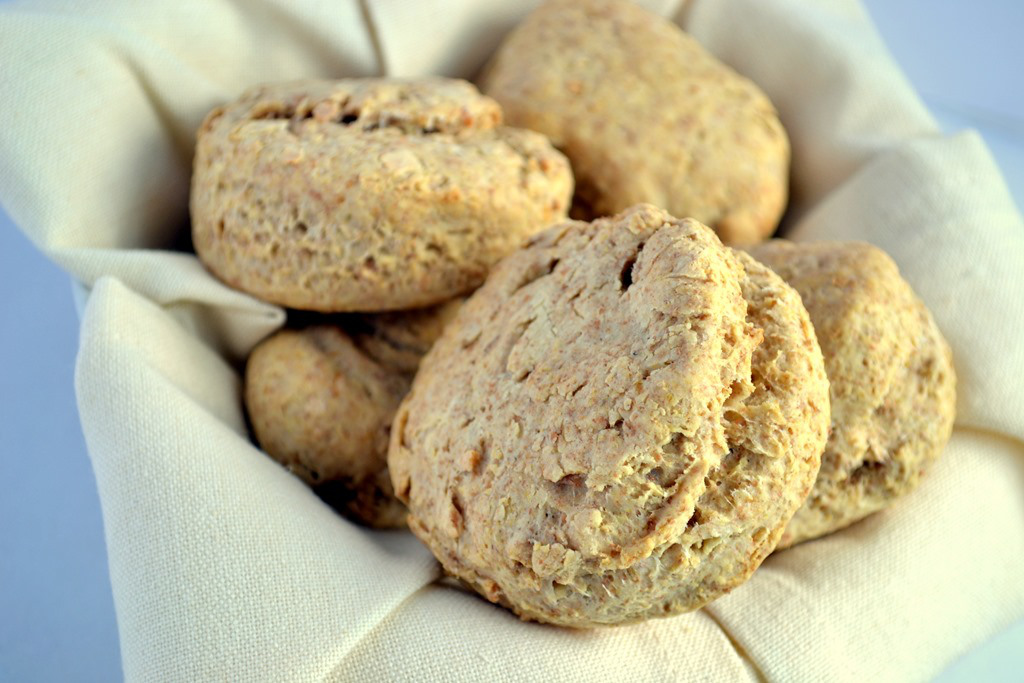
Bath, the city  where I’m now living, has dozens of tearooms, and cheese scones seem to feature on most of their menus. They were very easy to veganize using oil instead of butter, flax instead of eggs and Vegusto instead of dairy-cheese. Despite the changes they turned out beautifully. Lovely and flaky with a prominent cheese flavour.

Vegan Cheese Scones (with Vegusto No-Moo Mild-Aromatic)

I like the sweet/savoury combination and served mine fresh from the oven with raspberry jam, but they’d be lovely all on their own just with a cup of tea.

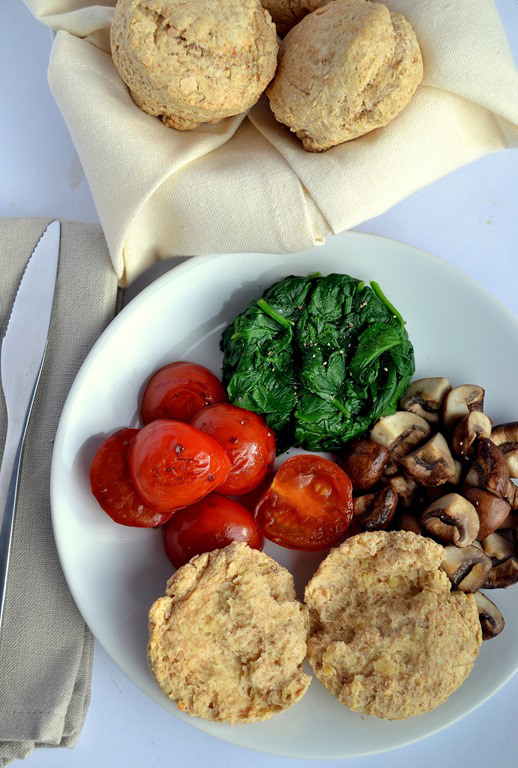
I also liked them as an addition to a little brunch I put together- along with sautéed balsamic mushrooms, tomatoes and spinach.

Vegan Cheese Scones (with Vegusto No-Moo Mild-Aromatic)

I don’t really remember the taste of cheddar but the smell of this was exactly the same! Although I was never a cheese-eater, my Dad (and dog!) loved the stuff. When I opened the Vegusto packet it took me right back to childhood lunches and the moment the lid was lifted off the cheese box!

Vegan Cheese Scones (with Vegusto No-Moo Mild-Aromatic)

I’ve only tried the No-Moo Piquant on oatcakes so far but surprised myself in enjoying it just like that! The flavour has been compared to a French Gruyère so I’m thinking it would be nice in a simple tart or for a kick of flavour in a potato gratin…

Other than the products I tried there are lots more- a Blue cheese, a Herb cheese and a Walnut cheese (maybe nice for a cheeseboard?), various other sausage and burger flavours, sandwich slices, steaks, schnitzels and mince, as well as roasts, dips and sauces!

Vegusto definitely place an emphasis on quality ingredients, something which is important to me. All their cheeses are made with a base of organic nut butter and for salts and oils they only use rock salt, and cold pressed oils, including coconut, sunflower and rapeseed oil in their products, unlike most dairy cheese alternatives which rely on soya and palm oil.

I would definitely recommend these products and think they’d be especially useful for those transitioning to a vegan diet and looking for more familiar foods. I enjoyed trying them and can see myself buying them on occasion, even if they’re not going to be new staples for me.

Do you like any meat or cheese alternatives? How would you use the Vegusto products?

Disclaimer: I won these products in a giveaway but was not required to write a review. All opinions are my own.

Sign up for email updates and join me elsewhere: I’m on Facebook, Pinterest, Instagram (@coconutandberries), Google + and Twitter!
U is for…

Udon Noodles!

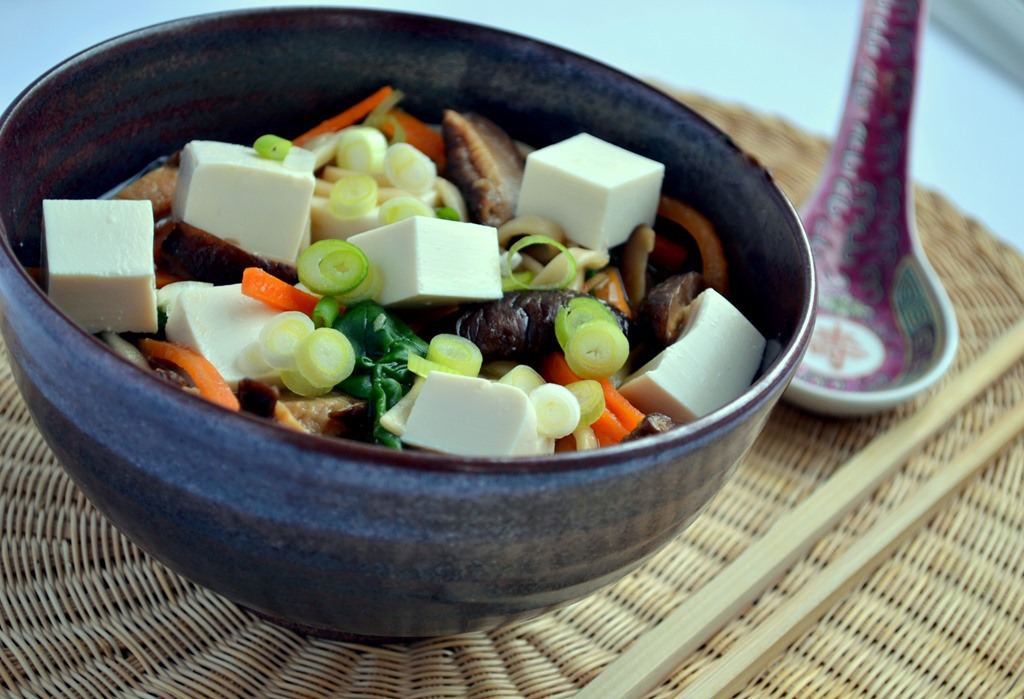
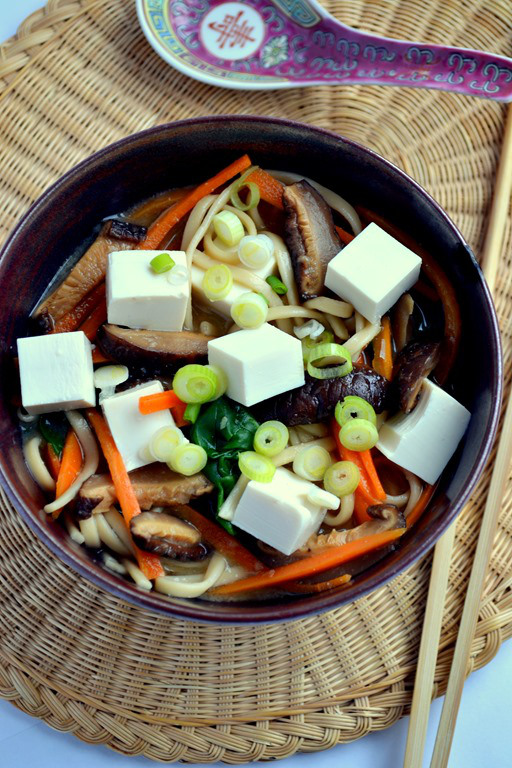
Tofu, Miso, Udon Noodle Soup (for one)

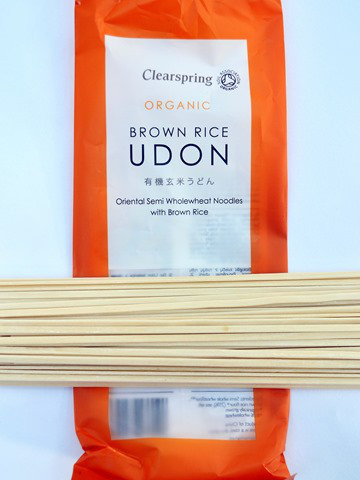
Udon Noodles are chewy, soft and silky-textured and tied with soba are my favourite noodles to use. You can find them in their dried form and boil them like pasta, and the pre-cooked type which can go straight into your wok or soup pot.

Either way, they’re a fabulous option for a whole variety of dishes, from piping hot noodles in broth to satisfyingly rich stir fries, and succulent salads. Tofu, Miso, Udon Noodle Soup (for one)

This hearty bowl of slurpy noodles was inspired by Wagamama, a Japanese restaurant and noodle bar, and one of the few restaurant chains over here that I really love.  I went a few weeks ago and had a delicious vegetable udon stir-fry but was very tempted by all the warming soups on the menu.

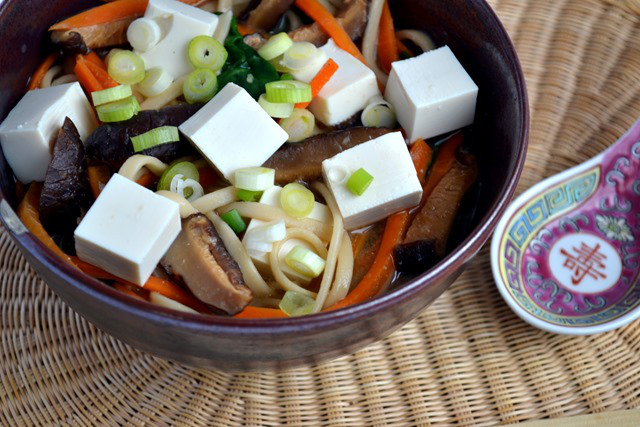
This recipe for Tofu, Miso, Udon Noodle Soup takes just minutes to put together and is great for cold-weather lunch option when salads and sandwiches are less appealing.

Don’t feel constrained by the listed ingredients either. It’s very much one of those dishes which works well with any number of vegetables. Don’t have spinach on hand? Try bok choy or broccoli. No shitake mushrooms? Use a different type. I sometimes also add seaweed for a different flavour profile.

Tofu, Miso, Udon Noodle Soup (for one)

Tofu, Miso, Udon Noodle Soup (for one):

3 Dried shitake mushrooms (or use fresh)
1 1/2-2C Water
1/2t Grated ginger
50g Dried udon noodles (or use fresh)
1/2 Large carrot, julienned
Large handful of spinach
1/2T White miso
1t Tamari
75g Silken tofu, cubed
1 Green Onion, thinly sliced
Drizzle of toasted sesame oil (optional)

If using dried mushrooms, soak in boiling water for at least 30 minutes to rehydrate. Drain (reserving water) and slice.

Cook noodles according to packet instructions, drain and set aside in a bowl

Boil 2C Water (including the reserved mushroom soaking water), add ginger, sliced mushrooms, carrot and spinach and cook for 1 minute to wilt the greens. Remove from heat and stir through miso and tamari.

Pour vegetables and the broth over the noodles. Top with silken tofu, green onions and sesame oil (if using)

Serves 1

PRINT RECIPE HERE

pasta please (200x143)

I’m submitting this recipe to the Monthly Blog Challenge, Pasta Please

Tofu, Miso, Udon Noodle Soup (for one)

A few other Udon noodle recipe ideas from the web:

Udon Noodle Salad with Peanut-Lime Sauce

Gingered Sesame-Coconut Udon with Roasted Broccoli

Curried Udon Noodle Stir-Fry

What’s your favourite type of noodle?

Hope you’re all having a lovely weekend, and that those who’ve finished their Vegan MoFo posts are having a good break!

Print

B is for…

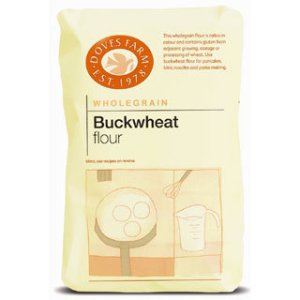
Buckwheat Flour!

Buckwheat Flour

I tend to accumulate bags of flour in my pantry…as with a lot of ingredients (!), one of the main reasons for doing this A to Z challenge in the first place. I seem to have worked my way through most of them, leaving teff flour, which, until I made my tasty Teff Pancakes with Caramelized Bananas I’d only used for making injera, and buckwheat flour which I used for my blueberry-orange buckwheat waffles, but has since been sitting redundant until now.

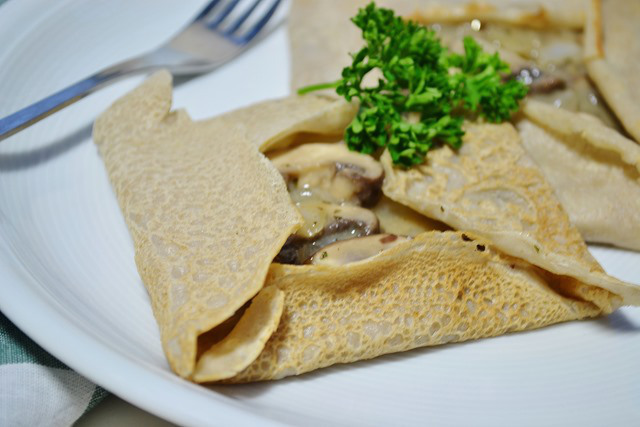
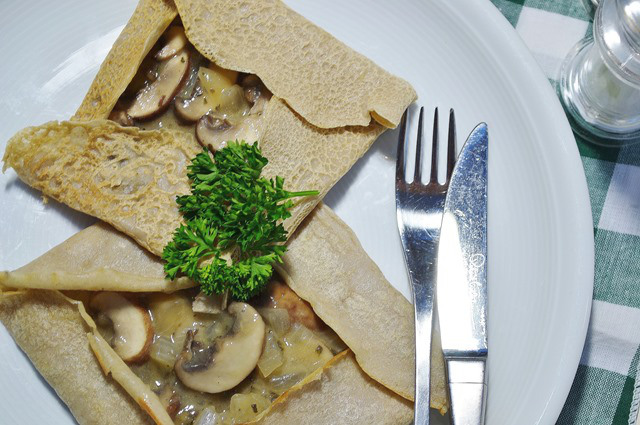
Buckwheat Crêpes with Creamy Mushroom Filling (Vegan)

I’m still a little wary of gluten-free baking and so instead of simply substituting buckwheat flour (a gluten-free flour) for wheat in a recipe, I thought I’d look for something which is gluten-free and uses buckwheat flour by default.  The obvious choice for me was Breton galettes.

The “galette bretonne” is a buckwheat flour crêpe traditionally from Brittany, France, although it’s now available and popular all over France. Unlike its wheat flour counterpart it’s usually served with savoury fillings. Neither the crêpe itself or the  fillings are typically vegan as they involve eggs, meat and cheese, but of course my version contains no animal products :)

Buckwheat Crêpes with Creamy Mushroom Filling:

Crêpe-making can seem tricky at first, and it kind of is, but don’t be discouraged if the first couple (or first batch!) don’t turn out so well, you’ll get the hang of it. It definitely helps to have a nice thin batter so you can swirl it round the pan easily. Although galettes should be a little thicker than dessert crêpes, you’re not making thick fluffy pancakes here but are after a more delicate, slightly crisp pancake.

Galettes:

1T Ground flax + 3T water
1C Buckwheat flour
1/2T Oil
1/4t of salt
1C Water (more if needed to make a fairly thin batter- about the consistency of heavy cream)
1T Oil for cooking galettes

Combine all ingredients and whisk well in a large bowl. Cover and leave to sit at room temperature for a couple of hours ideally.

Preheat a large crêpe pan or non-stick pan over medium high heat with a little oil. When hot pour a ladleful of the batter onto the pan and swirl to distribute quickly and evenly. After about a minute, slide a spatula under the crêpe and carefully flip. Let it cook on the reverse side for another 30 seconds or so and remove to a plate. Repeat, cooking the crêpes until all the batter is used up.

Serve warm, filled with the creamy mushroom mixture or your choice of fillings. Breton crêpes are not usually rolled but the 4 rounded sides are folded in over the filling, forming a square, as pictured.

Buckwheat Crêpes with Creamy Mushroom Filling (Vegan)

Creamy Mushroom Filling:

1/2T Oil
I Onion, chopped
250g Chestnut Mushrooms, sliced
2T Finely chopped fresh mixed herbs (I used rosemary, sage and thyme)
1/4C White wine (or vegetable broth)
1T Arrowroot
1/3C Non-dairy Cream (I used oat but cashew or soy would be fine)
Salt + Pepper

Heat the oil in a pan over medium heat and gently cook the mushrooms until soft and fragrant. Add the herbs and the sliced mushrooms and continue to cook until they release some moisture. In a small bowl dissolve arrowroot in wine or vegetable broth. Add this to the pan along with the cream and cook for a few minutes until it has thickened a little. Season with plenty of salt and pepper and serve with crepes.

Serves 2-3

Buckwheat Crêpes with Creamy Mushroom Filling (Vegan)

Buckwheat flour is made from whole buckwheat groats, actually a seed not a grain. The groats can be used in recipes too and I especially like this Raw Buckwheat Porridge.

Other buckwheat recipes to try:

Using whole buckwheat groats:

Buckwheat & Lentil Shepherd’s Pie

Buckwheat & Chickpea Nuggets

Raw Sprouted Buckwheat Chocolate Bars

Using buckwheat flour:

Blueberry, Almond & Buckwheat Muffins

Savoury Buckwheat Pancakes with Spicy Potato & Apple Stuffing

Gingerbread Buckwheat Pancakes

I’d love to hear about your experiences with buckwheat. Tell me how you like to use it.

Have you made crêpes before?

Are you a pantry hoarder like me?!

Hope everyone’s enjoying Vegan MoFo so far. If you’re new to Coconut and Berries please do sign up for email updates or add me to your reader. You can also find me on Facebook, Instagram (@coconutandberries), Twitter and Pinterest.

Vegan MoFo Banner


Creamy Spinach + Leek Stuffed Mushrooms

Whenever I have portobello or flat mushrooms on hand I always seem to go to my default recipe- marinated in a sweet balsamic dresssing, grilled, and then served any of a number of ways: sliced into chunky strips strewn over a salad,  squished between a bun with lots of toppings… When I’ve found a recipe I love I get it into my head that nothing else I make with that ingredient will be as good and so I stick to the tried and tested.

I was definitely proven wrong today. I pushed myself to try something new and I may just have knocked my old fave off the top-spot!

These beauties really have that “umami” flavour and although rich-tasting they are pretty darn healthy too. I’d very happily eat a couple of them simply accompanied with some crusty bread for a satisfying lunch, light dinner, or even for breakfast.

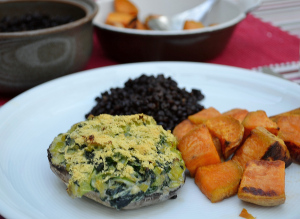
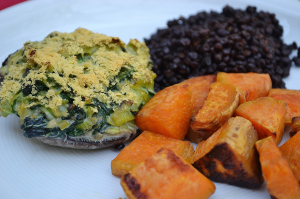
Creamy Spinach + Leek Stuffed Mushrooms

I used coconut milk for the creaminess here and the coconut flavour wasn’t too strong for me when combined with plenty of garlic, earthy leeks and spinach as well as a good dose of nutritional yeast, but if you’re not a fan then you could swap in any other non-dairy cream (soy, coconut etc- there are various available commercially these days). A hint of nutmeg rounds these out nicely, but again you might prefer to go with a dash of cayenne instead for a slightly different background note.

Pictured below I served them with sweet potato chunks, roasted until the edges turn caramel-crisp and some delicately seasoned beluga lentils.

Creamy Spinach + Leek Stuffed Mushrooms

Creamy Spinach + Leek Stuffed Mushrooms

Creamy Spinach + Leek Stuffed Mushrooms:

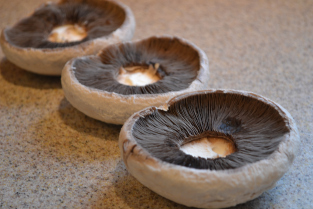
3-4 Large Flat/Portobello Mushrooms
1 Leek, diced
3 Cloves garlic, minced
Few grinds nutmeg and/or cayenne
Several handfuls spinach
1/2C Coconut milk/non-dairy cream
2T Nutritional yeast
salt + pepper, olive oil

Preheat your oven to 180C/350F

Prepare your mushrooms- either wipe with a damp cloth or peel and de-stalk, brush with olive oil, sprinkle with a little salt and pepper and lay them on a baking sheet.

Sauté leeks over medium heat for 5 minutes until softening nicely, add minced garlic and cook for a further couple of minutes. Add your spinach (be generous as it will shrink down a lot) and spices of choice and cook until wilted. Pour over coconut milk, warm through and season.

Spoon creamy filling onto your prepared mushroom caps and sprinkle with nutritional yeast. Bake 20-30 minutes until turning golden.

Enjoy!

What about you, do you stick to your tried and tested with certain ingredients, or are you open to trying new ideas?

Japchae

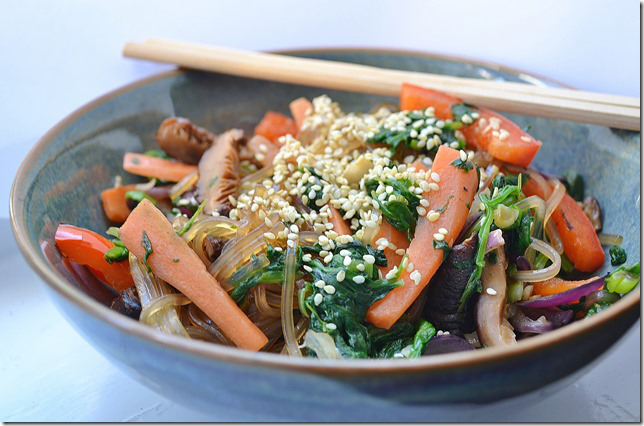
Japchae- Korean vegetable noodle dish

I’ll soon be heading home for the summer now I’ve finished my exams, with university term officially ending in a week and a half. I’ve been gradually trying to reduce my food supplies so I don’t have to cart too much home and don’t have repeats of everything in my home kitchen.

A quick rummage in my pantry staples turned out a bag of mysterious noodles. The writing on the package was all in Japanese and I vaguely remembered having bought them in the Japan Centre on a visit probably a year ago! I think I thought they were rice vermicelli and planned to use them in a cold noodle salad or rice paper rolls. But, when I opened up the package they didn’t look at all as expected so I decided to rethink my cooking plans. Turns out they were harusame (Japanese name) , dangmyeon (Korean name), or potato starch noodles.

Japchae- Korean vegetable noodle dish

A search for recipes led me to this vegetarian Japchae at Herbivoracious.

“Japchae(chapchae)is a Korean dish made from  potato starch noodles, stir fried in sesame oil with various vegetables and flavoured with soy sauce, and sweetened with sugar. It’s usually served garnished with sesame seeds ” (Wikipedia tells me so…)

Everyone knows stir-fry is a student staple- cheap, healthy, quick + cheap so this seemed just the ticket.

It was very simple to make, using the traditional stir-fry method of cutting all your vegetables before you start cooking as it’s very quick to come together. Unlike most stir-fry dishes I’ve made in the past, this one called for stir-frying each ingredient separately which made a huge difference in preserving the flavour and colour of the vegetables- definitely a tip I’ll be reusing.

You could make this with any veg but I stuck to the listed: onion, spinach, carrots, red bell pepper, shitake mushrooms (I would say the mushrooms are essential as they really add a great texture). I didn’t have any tofu to hand so I omitted it but next time I’d add it for a more substantial meal.

Have you had japchae before? Or used potato starch noodles? I have half a packet left so I’m looking for another recipe.