Strawberry-Almond Amazake Muffins

DSC_0108.jpg

Amazake!

This was a product I’d never heard of before but it’s been a great discovery. I introduced it in my review of Clearspring products but if you missed that post or are new to the blog here’s a little intro, in case you’re unfamiliar with it. Strawberry-Almond Amazake Muffins
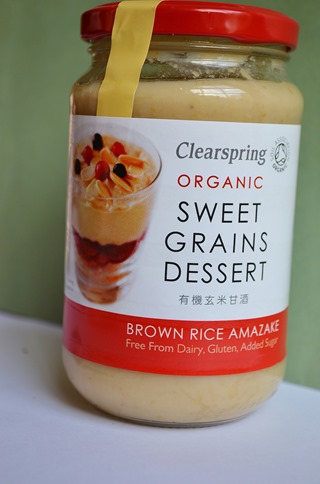
Amazake is a  Japanese ingredient made from just 3 ingredients- whole grains, water and salt. The traditional Japanese process uses a koji culture to convert the carbohydrates in the grains into simple sugars and magically transform them into these wonderfully thick and creamy dessert.

Traditionally it’s turned into a hot drink combining approx 1/4C with 3/4C hot water. I prefer to make a more creamy, comforting drink simply adding a spoonful into a mug of warm almond milk. I happen to love it straight out of the jar too. You can also blend in fruits, cocoa, extracts and make puddings or smoothies in all kinds of flavours and Clearpring have a whole host of other recipes using amazake on their site.  I decided it would be great to use as a sweetener in baked goods and love slightly sweet muffins for breakfast so the decision was made!

Strawberry-Almond Amazake Muffins

I had picked up even more strawberries than I could eat fresh a few weeks ago and frozen them, a very good decision it turned out as strawberry season’s over here now but I’ve already been missing them. I love the flavour of almonds with fruit so added ground almonds to the mix for flavour and moisture, and a little almond extract to amp up the taste.

Strawberry-Almond Amazake Muffins

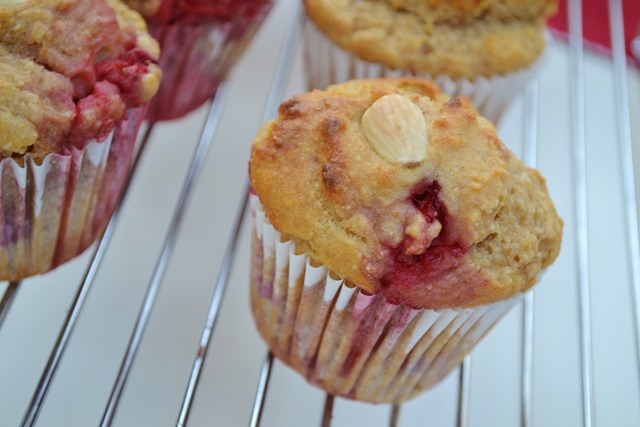
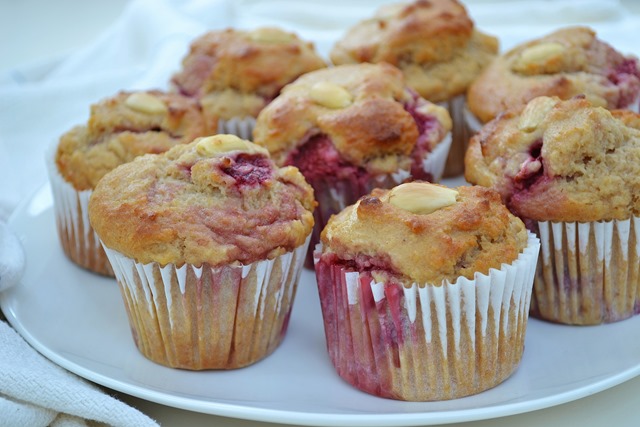
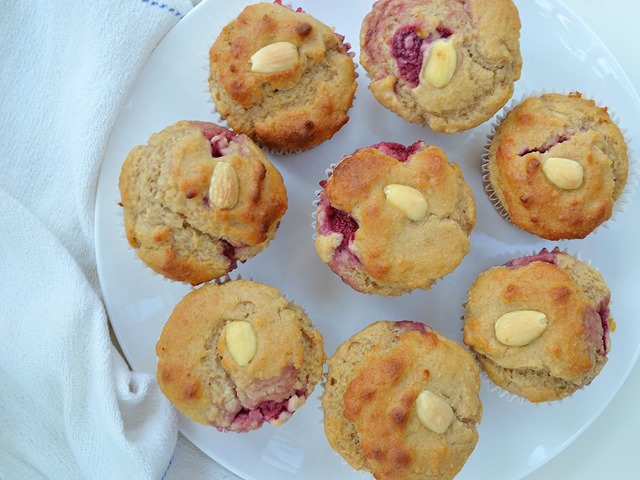
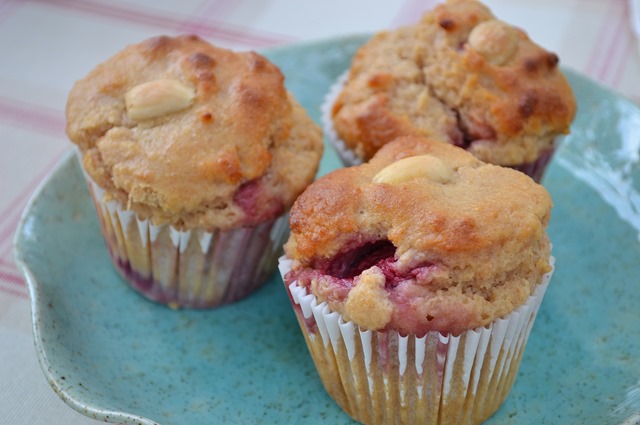
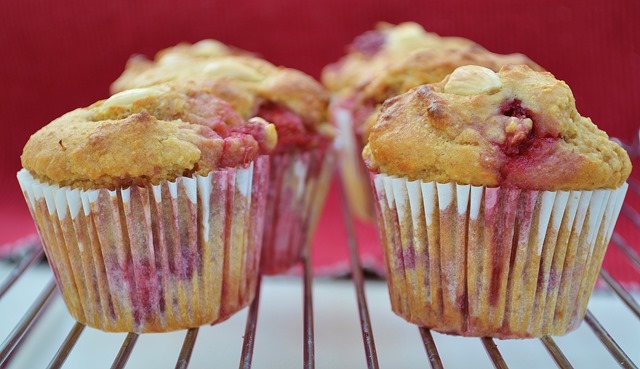
Aren’t they pretty?! A wonderfully soft, tender crumb, a puffy top and little jammy bites of sweetness. Just how I like them.

Strawberry-Almond Amazake Muffins

Strawberry-Almond Amazake Muffins:

These are only mildly sweet so perfect for breakfast in my eyes. If you do like your muffins sweet then replace 2-3T of the almond milk with liquid sweetener i.e. agave nectar, brown rice or maple syrup. You can also just serve drizzled with a little agave instead.

1C Light spelt flour
1/2C Ground almonds (These might have a different name outside the UK but here are blanched, finely ground almonds)
2t Baking powder
1/8t Salt
3 1/2T Oil
I  380g/13.5oz Jar Amazake
1/4C Almond milk
1/2t Almond extract
1/2t Vanilla extract
1C Chopped strawberries + 1T Flour
8 Blanched almonds (optional)

Preheat oven to 180C/350F. Line a muffin tray with 8 paper cases.

Combine dry ingredients in a large bowl. In a smaller bowl whisk together amazake, oil, almond milk and extracts. Add wet to dry and stir to combine. Don’t over-mix or you’ll end up with tough muffins. Toss strawberries with 1T flour to prevent them from sinking to the bottom of the muffins and gently fold them into the mixture.

Divide mixture evenly between the paper cases and top with an almond if you like.

Bake for 30-35 minutes, until lightly brown and a toothpick inserted into a muffin comes out clean.

Makes 8

Strawberry-Almond Amazake Muffins

Hannah of Bittersweet even made her own amazake! If you can’t find amazake in grocery stores near you or are just feeling ambitious in the kitchen, why not give it a go?

Strawberry-Almond Amazake Muffins

Is amazake new to you? If not tell me how you like to use it!

Hope everyone’s enjoying the start of MoFo! So happy to be participating this year. I’ll be back with the letter B tomorrow!

Vegan MoFo Banner


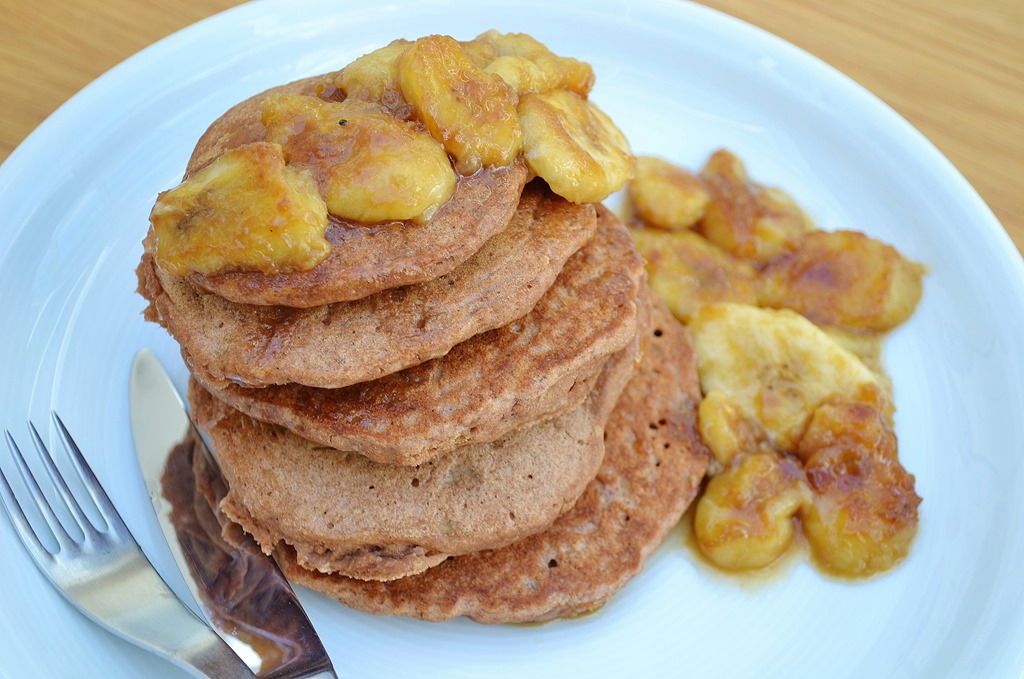
Teff Pancakes with Caramelized Bananas

DSC_0179.jpg

I’m doing a little better with the early-rising. I’m blaming the strange routine we had in Edinburgh for throwing me a little and meaning I’m still not up as early as I’d like. Pancakes are a definite motivation to get me out of bed in the morning though and these are indulgent but healthy ones to boot!

Teff Pancakes with Caramelized Bananas

I have very little experience with gluten-free baking. I don’t need to eat gluten-free although I appreciate many people feel better when eating less gluten. I’m all for eating less refined food though and try to use mainly whole grain flours in my kitchen.  Making some  empanadas a short while ago (recipe coming soon!) I had used up the ends of a few bags of flour and was left with a choice of chickpea or teff flours, incidentally both gluten-free.

I frequently use teff flour to make Injera, a delicious Ethiopian fermented flat bread that is perfect for scooping up wat (thick vegetable and lentil stews) but figured I could diversify and use it for other kitchen creations. Its mild, nutty, almost sweet flavour is ideal for pancakes.

As well as incorporating banana into the batter for moisture, I thought I’d go all out and top my pancakes with caramelized bananas! You might think that sounds more like dessert than breakfast, but serving two this recipe’s really not that high in sugar and fat (coconut oil and coconut sugar also contain some nutrition unlike their refined counterparts). The caramel bananas would also make a delicious, easy dessert served with a scoop of non-dairy ice cream or coconut cream.

Teff Pancakes with Caramelized Bananas

 I was really pleased with how these turned out. I’ve read that gluten-free baking can sometimes end up gummy but I did my research and seem to have managed to get the ratios spot on

Teff Pancakes with Caramelized Bananas

Yield: 2 servings (or 1 very large serving)

Ingredients

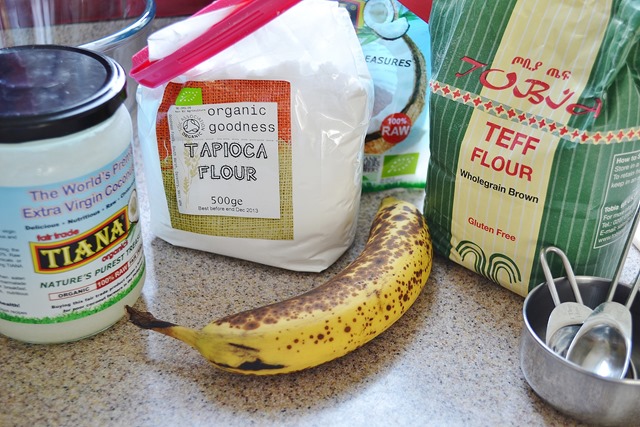
  • 1/2 C Teff flour
  • 2 Tbsp Tapioca starch (or other starch)
  • 1/2 Tbsp Coconut sugar
  • 1 tsp Baking powder
  • 1/2 C Almond milk
  • 1 tsp Apple cider vinegar
  • 1 Tbsp Ground flax + 3 Tbsp water
  • 1/4 C Mashed banana (1/2 medium banana)
  • 1 Tbsp Coconut oil, melted
  • For the Caramelized Bananas
  • 1 1/2 Bananas, cut on the diagonal into rounds
  • 1/2 Tbsp Coconut oil, melted
  • 3/4 Tbsp Coconut sugar
  • Dash of cinnamon (optional)

Instructions

  1. Combine dry ingredients in a medium bowl.
  2. Combine apple cider vinegar with almond milk to make “buttermilk”.
  3. Whisk together ground flax, water and mashed banana and add to the almond milk mixture. Whisk in melted coconut oil. Stir liquid ingredients into dry, just until all the flour is incorporated.
  4. Heat a large pan over medium heat and wipe with a little coconut oil. Scoop pancake batter onto pan in 1/3 C increments. The mixture is pretty thick so you might need to spread it  with a spatula for even circles. Leave pancakes untouched until little bubbles appear and the edges are dry. Flip carefully and cook for another couple of minutes on the other side. Keep warm in an oven on low-heat until ready to serve. Repeat until all batter is used up.
  5. Meanwhile, make the caramelized bananas.
  6. Heat another smaller pan over medium heat and add coconut oil and coconut sugar. Stir to combine. Lay banana slices on top of caramel mixture and leave for a minute. Sprinkle with a dash of cinnamon if you like. Flip and cook another 30 seconds. Remove from pan. I let mine cook a little too long and they were falling apart slightly.
  7. Serve immediately over warm pancakes.
http://www.coconutandberries.com/2013/08/21/teff-pancakes-with-caramelized-bananas/

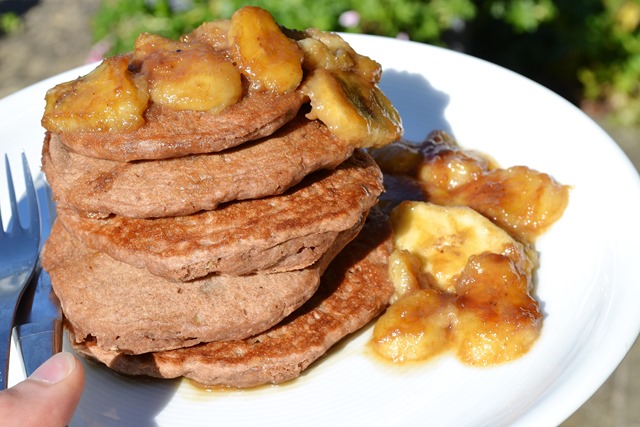
It was a lovely sunny morning when I made these so I took my plate outside to enjoy my breakfast in the fresh air. Bliss.

Teff Pancakes with Caramelized Bananas |coconutandberries.com

What’s your favourite “special” breakfast?

Do you eat gluten-free? Any baking tips to share?

If you’re new to Coconut and Berries, please sign up for email updates and join me elsewhere!  I’m onFacebook PinterestInstagram (@coconutandberries), Google + and Twitter! You can also follow Coconut and Berries with Bloglovin or Feedly.

Lemon Coconut Milk Scones (with Blackberry Chia Jam)

Lemon Coconut Milk Scones

Lemon Coconut Milk Scones (with Blackberry Chia Jam)

I’m on “holiday mode” at the moment, and rightly so I suppose as it is the summer and I’m in between studies. But my laid-back attitude has stretched to my sleeping routine. I’m going to bed later and later and getting up later and later…There’s nothing wrong with this of course but I just feel so much better and more productive when I’m up and moving by 7am.

I miss my leisurely starts to the day so I’m making an effort to go to bed earlier and get up earlier, easing into it with 15 minutes earlier everyday as suggested by Leo at Zen Habits. Getting up later also means breakfasts have got rather dull. When I eventually get up I feel like I should be getting on with things and so have just been grabbing a quick bowl of Nature’s Path Cereal, porridge with fruit and almond milk or an uninspired smoothie, and leaving it at that.

Lemon Coconut Milk Scones

The lure of fun breakfasts is definitely helping my early-rising quest though! While at university I would regularly wake up early and head to the kitchen for a spot of baking in my pyjamas, enjoying the silent corridors and having the kitchen all to myself Smile before heading off to lectures or getting down to work. The only disturbance was the occasional rower returning from their (super) early-morning training sessions on the river, bursting in on my pancake-making to heat up some instant oats in the microwave.


These scones were made before starting my new plan to get up early so they were baked later than I’d have liked, inducing a little bit of guilt about wasting my morning. But finding time to nourish the mind and the body shouldn’t be frowned upon and baked goods don’t have to be unhealthy.

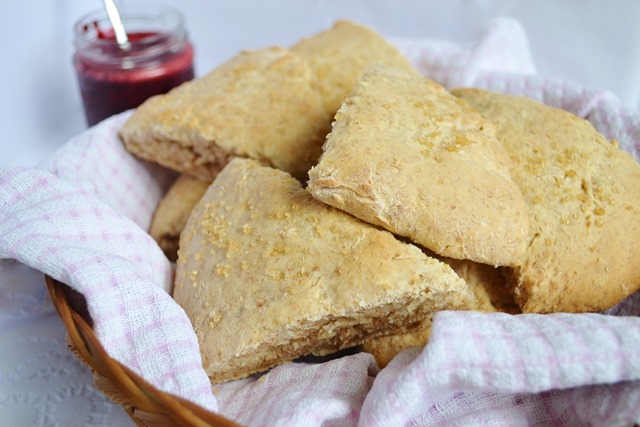
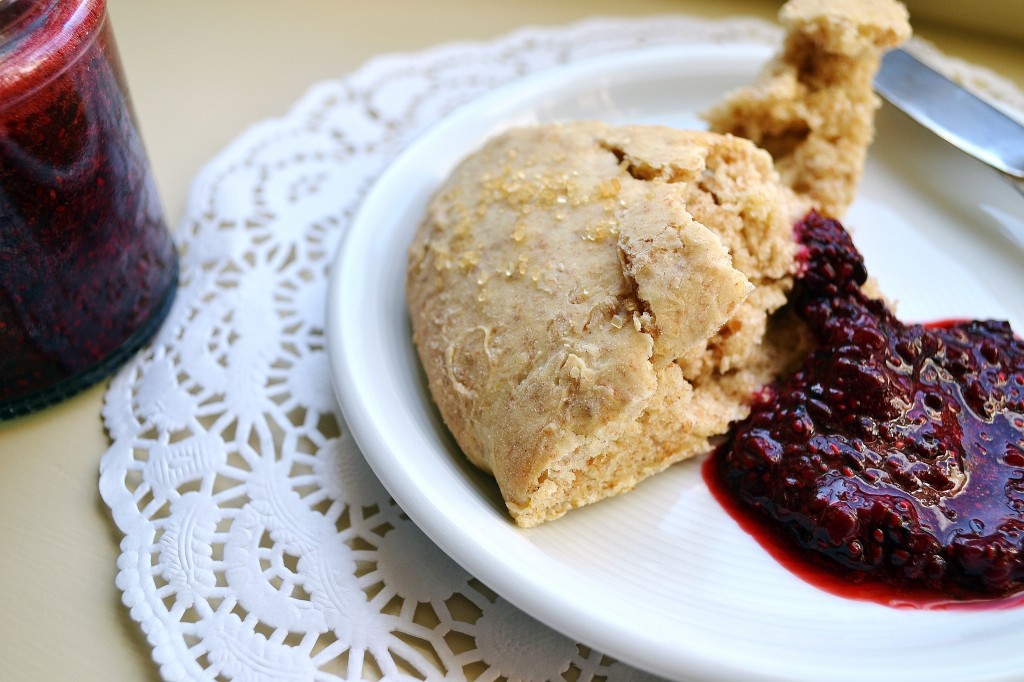
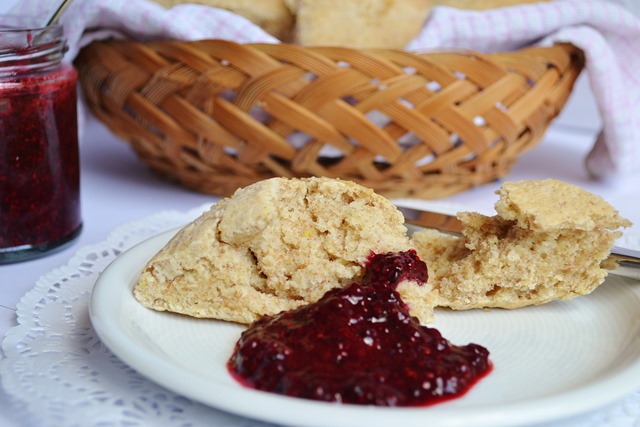
These scones incorporate wholegrain flour, are ever so slightly sweetened, and have a touch of lemony flavour and a soft crumb. Served warm from the oven topped with coconut butter and my quick blackberry chia jam they made for a lovely breakfast, and a very welcome change from cereal and milk!

Lemon Coconut Milk Scones with Blackberry Chia Jam:
Yields 8
Write a review
Print
Blackberry Chia Jam
  1. 1 C Blackberries
  2. 1 Tbsp Agave nectar
  3. 1 Tbsp Chia Seeds
Lemon Coconut Milk Scones
  1. 2 C Flour (I used 1/2 white spelt and 1/2 whole spelt)
  2. 1/4 C Coconut Sugar (use 1/3C if you’d like a touch more sweetness)
  3. 1 Tbsp Baking powder
  4. 1/2 tsp Salt
  5. 1 1/4 C Coconut Milk, chilled (NOT light)
  6. Zest of 1 large lemon
  7. 1-3 tsp Demerara sugar, for sprinkling (Optional)
For the Jam
  1. Briefly whizz blackberries in a blender, leaving slightly chunky. Stir in agave nectar and chia seeds, pour into a jar and leave to thicken in the fridge for at least 10 minutes.
  2. Keep in the fridge for up to a week.
For the Scones
  1. Preheat oven to 220C/425F, lightly grease a large baking sheet.
  2. In a large bowl, stir together all your dry ingredients. Whisk the lemon zest into the coconut milk and pour into the dry ingredients. Gently mix until just combined.
  3. The dough should be thick.
  4. Sprinkle your work surface with flour and shape your dough into a large disc, approx 3/4” thick. Carefully transfer the disc onto the prepared baking sheet. Using a sharp knife cut into 8 triangles.
  5. Bake for 15-20 minutes, or until very lightly golden.
  6. Brush with a touch of non-dairy milk and sprinkle with Demerara sugar, if using. Leave to cool slightly and gently separate the scones. Serve warm with coconut butter and blackberry chia jam if desired.
  7. (Or how about fresh strawberries and whipped coconut cream for a healthy strawberry shortcake?)
Notes
  1. The coconut milk doesn’t make these coconutty if that’s a concern, but the richness of the milk adds a buttery taste without the need for any added fat.
Coconut and Berries http://www.coconutandberries.com/
Lemon Coconut Milk Scones (with Blackberry Chia Jam)

Are you an early-riser? Or a baker?

If you’re new to Coconut and Berries, Please sign up for email updates and join me elsewhere: I’m on FacebookPinterest, Instagram (@coconutandberries), Google + and Twitter!

Follow Coconut and Berries with Bloglovin or Feedly

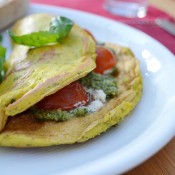
Pesto-Ricotta Tofu Omelettes with Cherry Tomatoes

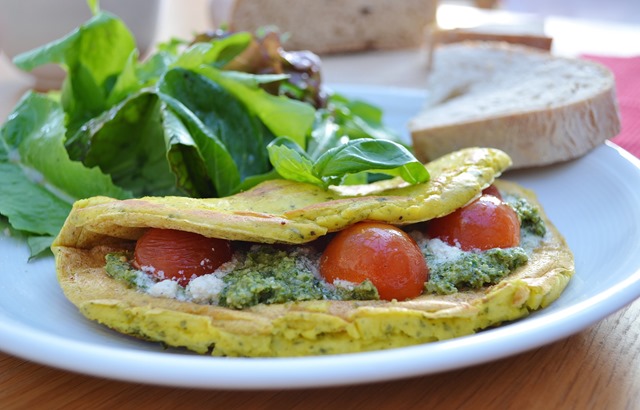
Pesto-Ricotta Tofu Omelettes with Cherry Tomatoes

I wasn’t an egg eater in my omnivore days (except in baked goods of course!) but appreciate that omelettes are a practical dish to make when you don’t want to be in the kitchen too long as they are super quick. This vegan variation is almost as speedy, just a matter of whizzing a few ingredients in a blender, spreading in a pan and cooking as you would an egg omelette.  I’ve made tofu omelettes before, using the basic recipe from Vegan Brunch, mixing up the fillings- garlicky mushrooms and spinach is a favourite, as is a slightly more unconventional “leftovers” omelette, usually involving some kind of beany vegetable stew or curry.

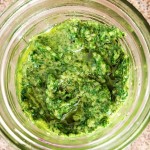
I came across this variation on the Vegan Cookbook Aficionado recently and thought it sounded perfect for right now. The obvious result  of bountiful basil growing in the garden is pesto! I made a big batch and froze some so I can enjoy that summer taste over the winter months, as well as giving me plenty to use in different dishes now. Mix it in pasta, with new potatoes, beans, slather it on crusty bread, crackers or as a dip for crudités…and now use it as an omelette filing! I had conveniently just made my Swiss Chard Lasagna too, and planned ahead, reserving a few tablespoons of the ricotta filling for these. Pan-blistered cherry tomatoes sealed the deal.

Pesto-Ricotta Tofu Omelettes with Chery Tomatoes

I’ve mentioned I don’t really do savoury breakfasts before so I made mine for an easy dinner alongside some fresh sourdough bread and a green salad. The omelette mix made enough for 2 and I was cooking for one so I simply covered it over in the fridge and made another the following day. Knowing it keeps fine, if you are into savoury in the mornings then you could use a full packet of tofu (double the listed quantities) and make a fresh omelette for breakfast for a few days!


Pesto-Ricotta Tofu Omelettes with Cherry Tomatoes:

(Adapted from Vegan Cookbook Aficionado)

1/2 400g/12oz pkg Silken tofu
1T Nutritional Yeast
1/2T Olive oil
3T Non-dairy milk
1/8t Turmeric
1/4-1/2t Black salt (This is what really gives these the “eggy” taste but if you can’t find it just add a little more regular salt. I bought some years back at Whole Foods and it’s lasted me since then)
1/4C Chickpea Flour
1/2T Arrowroot/Cornstarch
Salt + Pepper
6-8 Cherry tomatoes, halved
A few T Lemony tofu ricotta
A few T Basil Pesto ( I used homemade but if you don’t have any to hand I recommend these UK brands: Zest and Meridian)

Blend tofu through to black salt in a food processor or blender (I use a Tribest Personal Blender) until smooth. Add chickpea flour, arrowroot and seasoning and blend again briefly, scraping down the sides to ensure everything is fully incorporated.

Warm a little olive oil over med-high in a non-stick pan and add the tomatoes. Season tomatoes with salt and pepper and cook, stirring, for 1-2 minutes, until just beginning to collapse. Set aside in a small dish.

Wipe out pan and lightly grease with oil. Turn the heat down to medium. Pour 1/2 omelette mixture into the hot pan and spread it out into a thin layer with a spatula. Leave to cook for 3-5 minutes before flipping. Gently lift the sides with a large spatula, the underside should be matte and flecked with little brown spots if ready to flip. If not, leave a little longer. Flip omelette (I slide it onto a plate to make it easier) and spread on one half with pesto, add a couple of dollops of ricotta and finally a few halved cherry tomatoes. Gently fold the opposite half over the fillings and leave to cook for 1 more minute. Keep warm, covered, in the oven on very low heat while you make the second omelette.

Makes 2

DSC_0018

Stay tuned for some more recipes incorporating pesto! What do you like to do with it?

Have you made tofu omelettes before? If not, that needs to change pronto!

Blueberry-Orange Buckwheat Waffles

Blueberry-Orange Buckwheat Waffles

Hello, hope everyone’s had a good weekend!

Before I get to today’s recipe, just a reminder that Coconut and Berries is now on Facebook AND Instagram. Head on over and join in the fun!

Blueberry-Orange Buckwheat Waffles

I sadly didn’t grow up eating waffles and even pancakes were limited to holidays abroad with those extravagant American-style hotel breakfast buffets I loved so much. I almost always went for pancakes with lashings of maple syrup and especially loved watching the chefs cook them in front of you . Occasionally back at home my Mum would buy a container of Betty Crocker “shake to make pancake” mix and treat me and my brothers to a special Sunday breakfast. Anyone else ever have that stuff? It’s probably filled with nasty ingredients, but we certainly loved those pancakes!

Waffles are basically pancakes in a funny shape so I knew I’d like them, so much so that I bought myself a waffle iron a few years ago despite never having tried them. But my iron has only ever been used a couple of times since these past few years I’ve been living in university accommodation (and abroad) where kitchen space is rather limited…

Uni finished, waffles are back in my life! Hurrah! These Blueberry-Orange Buckwheat Waffles are reasonably healthy too. I incorporated buckwheat flour, oats and fruit, reduced the oil with unsweetened apple purée and didn’t overly sweeten the waffles…a generous drizzle of maple syrup sorted that out instead!

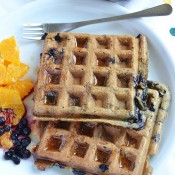
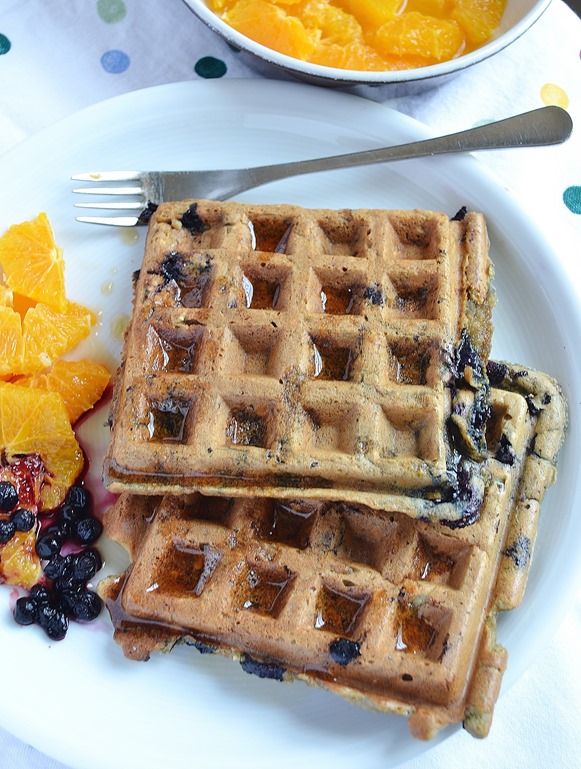
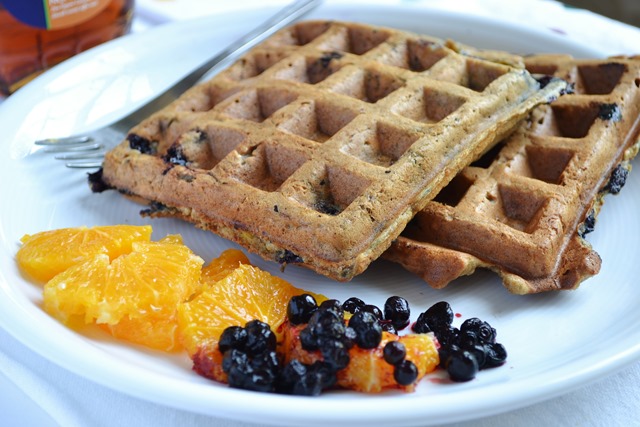
They turned out perfectly- crispy on the outside and fluffy on the inside. The citrus and berries made them feel a little more summery and the buckwheat flour and oats give them a nice nutty flavour as well as making them super filling. I’ve shown two in the pictures below but it was a case of my eyes being bigger than my stomach and after one I admit I was pretty stuffed!

Blueberry-Orange Buckwheat Waffles

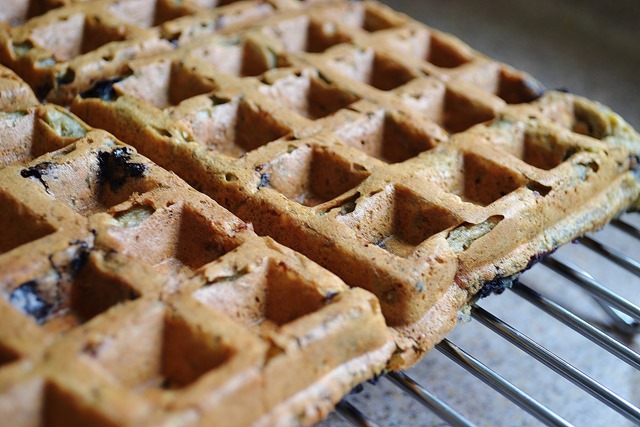
Naked waffles, hot and crispy.

If you don’t plan to eat all the waffles in one go, I recommend leaving them to cool on racks rather than stacking them so they stay crispy . They freeze really well too. When completely cool, wrap them up individually in foil or plastic wrap and pop them in the freezer. You can just pull one out when you fancy a special breakfast. I put them in the toaster to defrost and they get nice and crispy, just as good as fresh.

Blueberry-Orange Buckwheat Waffles

Pre maple syrup drowning…

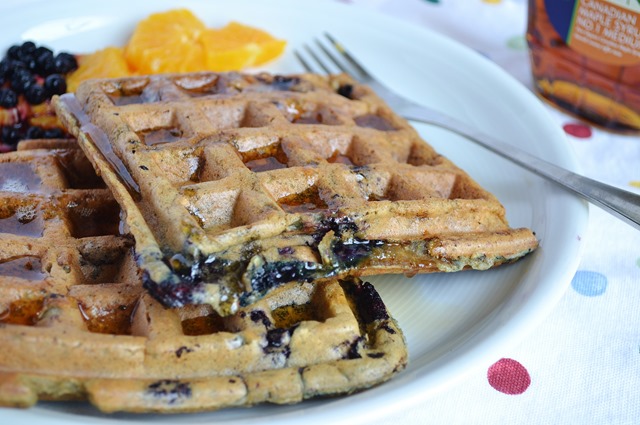
Blueberry-Orange Buckwheat Waffles

That’s better!

I use a Cuisinart Belgian Waffle Maker  and love it! 

Blueberry-Orange Buckwheat Waffles

Yield: 5 large Belgian waffles

Ingredients

  • 1 C Buckwheat flour
  • 1/2 C Plain/all-purpose flour
  • 1/2 C Rolled oats
  • 2 tsp Baking powder
  • 1/2 tsp Baking soda
  • 3/4 tsp Salt
  • 1-3/4 C Almond milk
  • 1/3 C Unsweetened apple purée (apple sauce)
  • 2 Tbsp Coconut sugar (or cane sugar)
  • 2 Tbsp Oil-
  • 2 Tbsp Ground flaxseed
  • 1 tsp Vanilla extract
  • Zest of 1 large orange
  • 1/2 to 2/3 C Frozen blueberries
  • I served mine with sliced oranges and more blueberries and topped with maple syrup but a berry sauce and non-dairy yogurt is another tasty option.

Instructions

  1. Combine buckwheat flour through to salt in a large bowl.
  2. In a medium bowl thoroughly whisk liquid ingredients, almond milk through to orange zest. Stir liquid ingredients into dry, just until combined.
  3. Leave batter to stand for 5 minutes while you preheat the waffle iron.
  4. Preheat the waffle iron for a few minutes while the batter is standing. Wipe or spray both grids of the waffle iron with oil.
  5. Ladle the batter onto the centre of the iron, making sure not to cover more than 2/3 of the iron’s surface (They will spread!). Close the iron and bake for 3-5 minutes (will vary with waffle irons- mine beeps when they’re cooked and is fairly accurate) or until the waffles can be removed easily.
  6. Remove to cooling rack and repeat until batter is all used up.

Notes

*I haven’t tried it out myself, but I imagine you could use this batter to make pancakes too if you don’t have a waffle iron. You could probably reduce or remove the oil too as it’s what gives waffles that characteristic crispy exterior and so is unnecessary for pancakes.

*To make these gluten-free sub a gluten-free all purpose flour for the 1/2 C wheat flour and use certified gluten-free oats.

*If you’re not a fan of buckwheat then try another whole grain flour: spelt, barley, wholewheat, teff etc.

http://www.coconutandberries.com/2013/07/15/blueberry-orange-buckwheat-waffles/

Do you have a waffle iron? Any favourite recipes or topping ideas to share?

If you’re new to Coconut and Berries, please sign up for email updates and join me elsewhere!  I’m onFacebook PinterestInstagram (@coconutandberries), Google + and Twitter! You can also follow Coconut and Berries with Bloglovin or Feedly.